Using Continue Plugin With Ollama as GitHub Copilot Alternatives
I recently stumbled upon a game-changing combo: Ollama and the Continue plugin. This open-source duo is about to revolutionize the way you code.
Why Continue and Ollama Are My New Best Friends
Ollama is an open-source platform that lets you run language models locally. It’s lightweight, efficient, and supports a ton of models. I’ve been playing around with Llama 3 and StarCoder, and I’m pretty impressed.
Now, Continue is where the magic really happens. It’s a plugin for VS Code and JetBrains that works seamlessly with Ollama. The interface is super intuitive, and the features are solid:
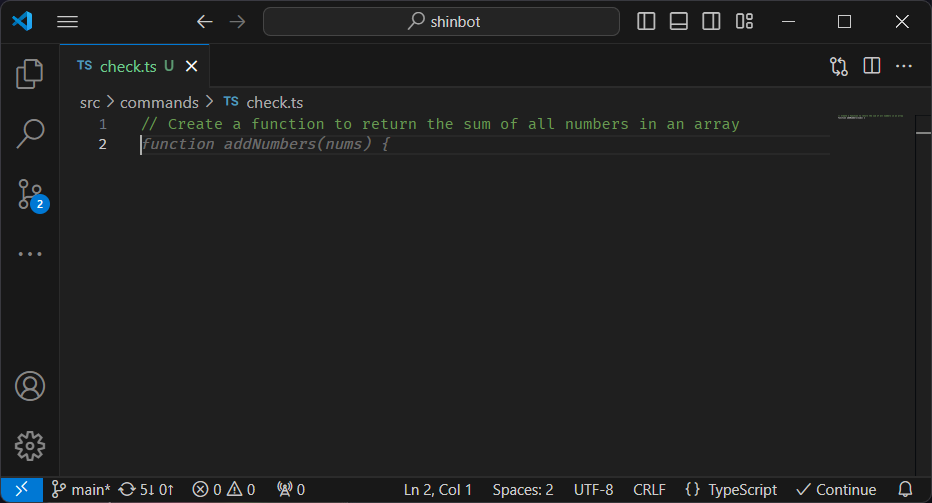
- Smart Code Completion: It offers spot-on suggestions as you type.
- Refactoring Wizardry: Cleaning up code has never been this easy.
- Code Understanding: You can ask questions about your codebase right in your editor, and get clear, concise answers.
The best part? Your wallet will thank you. Plus, all your code stays right on your laptop. And being able to tinker with every little setting means you’ve got your own personal coding assistant that’s perfectly tuned to how you work.
Setting Up Your Own AI Coding Sidekick
Let’s get you set up with this combo.
Step 1: Get Ollama Up and Running — Head over to the Ollama website and grab the version that matches your OS. The installation is pretty straightforward — just follow their instructions, and you’ll be good to go.
Step 2: Time to Pick Your Models — This is where it gets fun. Ollama supports a bunch of models, but for coding, I’ve found these to be real winners:
- StarCoder 2 3b: Great all-rounder for everyday coding tasks.
- DeepSeek Coder 6.7b-base: When you need some extra firepower for complex stuff.
- DeepSeek Coder 1.3b-base: A lighter option that still packs a punch.
To get these models, just use the ollama pull command. For example:
ollama pull starcoder2:3bChoose the one that fits your style — or grab all three.
Step 3: Continue Installation — Next up, we need Continue. Pop over to continue.dev and download the plugin for your favorite IDE (VS Code or JetBrains). Installation is a breeze — just follow their guide.
Step 4: Getting Continue to Play Nice with Ollama — This is where we connect all the dots. Open up your Continue settings (it’s in the preferences menu of your IDE), and let’s make some tweaks:
- Set the “Provider” to
ollama. - Choose your model (like
starcoder2:3b) in the “Model” field. - If you’re running everything locally, you can leave the “API Base” blank. But if you’re hosting Ollama on a separate machine, pop in the URL here.
There are tons of other settings you can play with to really make it your own. I spent a good hour tweaking things like completion options and tab autocomplete settings.
Step 5: Start Coding — That’s it! Fire up your IDE, start coding, and your new AI assistant will start doing its thing.

Wrapping Up
Ollama and Continue are seriously game-changers. It might take you an afternoon to get everything running smooth, but it’s worth it.
I’ve been tinkering with this setup for a few weeks now, and my code’s actually starting to look halfway decent, and I’m knocking out tasks in half the time. The other day, I tackled a gnarly bug that would’ve had me pulling my hair out before, and I actually had fun doing it.
So do yourself a favor and give it a go. Fair warning though — you might get a little addicted.